


Oversized Photo Booth Strips

Does anybody else LOVE photo booth strips? Why not DIY your own and blow them up to a gigantic size!
I came across this fun idea when I was scrolling the internet trying to find some decoration inspo for my dads birthday and I’m so excited about how they turned out. P.S. He may totally kill me if he knows I posted these pictures on the internet sooo if this is my last post, I’m not mad about it :P
I got the idea from the ladies at Beijos Events who got some photos professionally printed for a little kids birthday party and I thought, why not!, lets put our spin on it! It’s a simple Photoshop project (that literally only cost like $5 at my local FedEx Print Shop) and I’ve included a link to a template to get ya started.

Now don’t get scared when I say Photoshop *dun dun duuuun*! It’s super simple and I’ll walk you through it. (Please note that this tutorial is for Mac users! PC users may have a few different key commands within Photoshop.) Start by taking or gathering a bunch of images that you’d like to include in your photo strips. The file has three strips with four images each, so you’ll need 12 photos. Gather the digital files on your computer.
Next, download the Photo Booth Strip Photoshop Template. Open it in Photoshop (you can download a free trial if you don’t have the program!).

You’ll see that each rectangle for an individual image has its own layer in the file. Use the cursor (push V on your keyboard to navigate to cursor mode) to point at the top left rectangle, which is yellow. With this layer selected, drag and drop your first image over the top of the rectangle.

Then, look over to the right in your layer list. Be sure that the layer of the image is directly above the layer titled Strip 1-1. Click on the photo layer (mine is named ACS_0733, for reference), make sure it is highlighted, then hover your mouse in the middle of both your image layer and the layer titled Strip 1-1 and hold down the Alt key on your keyboard. The cursor should change to look like a square with an arrow pointing downwards. Click your mouse, keeping it in the same place. Your photo should now insert itself into the yellow square, creating a mask.


Next, hit Command+T to transform your image. To resize and preserve the original scale, hold down Shift on your keyboard while you click one corner of the photo with your mouse and move the mouse to make it larger or smaller. Make it larger or smaller and rotate it as you desire to fit within the rectangle mask. Once you like the size, hit return.

Now just repeat that for the other rectangles! Select the next rectangle (Strip 1-2), and drag and drop your next photo. Continue in the same manner until all of your images are filled.
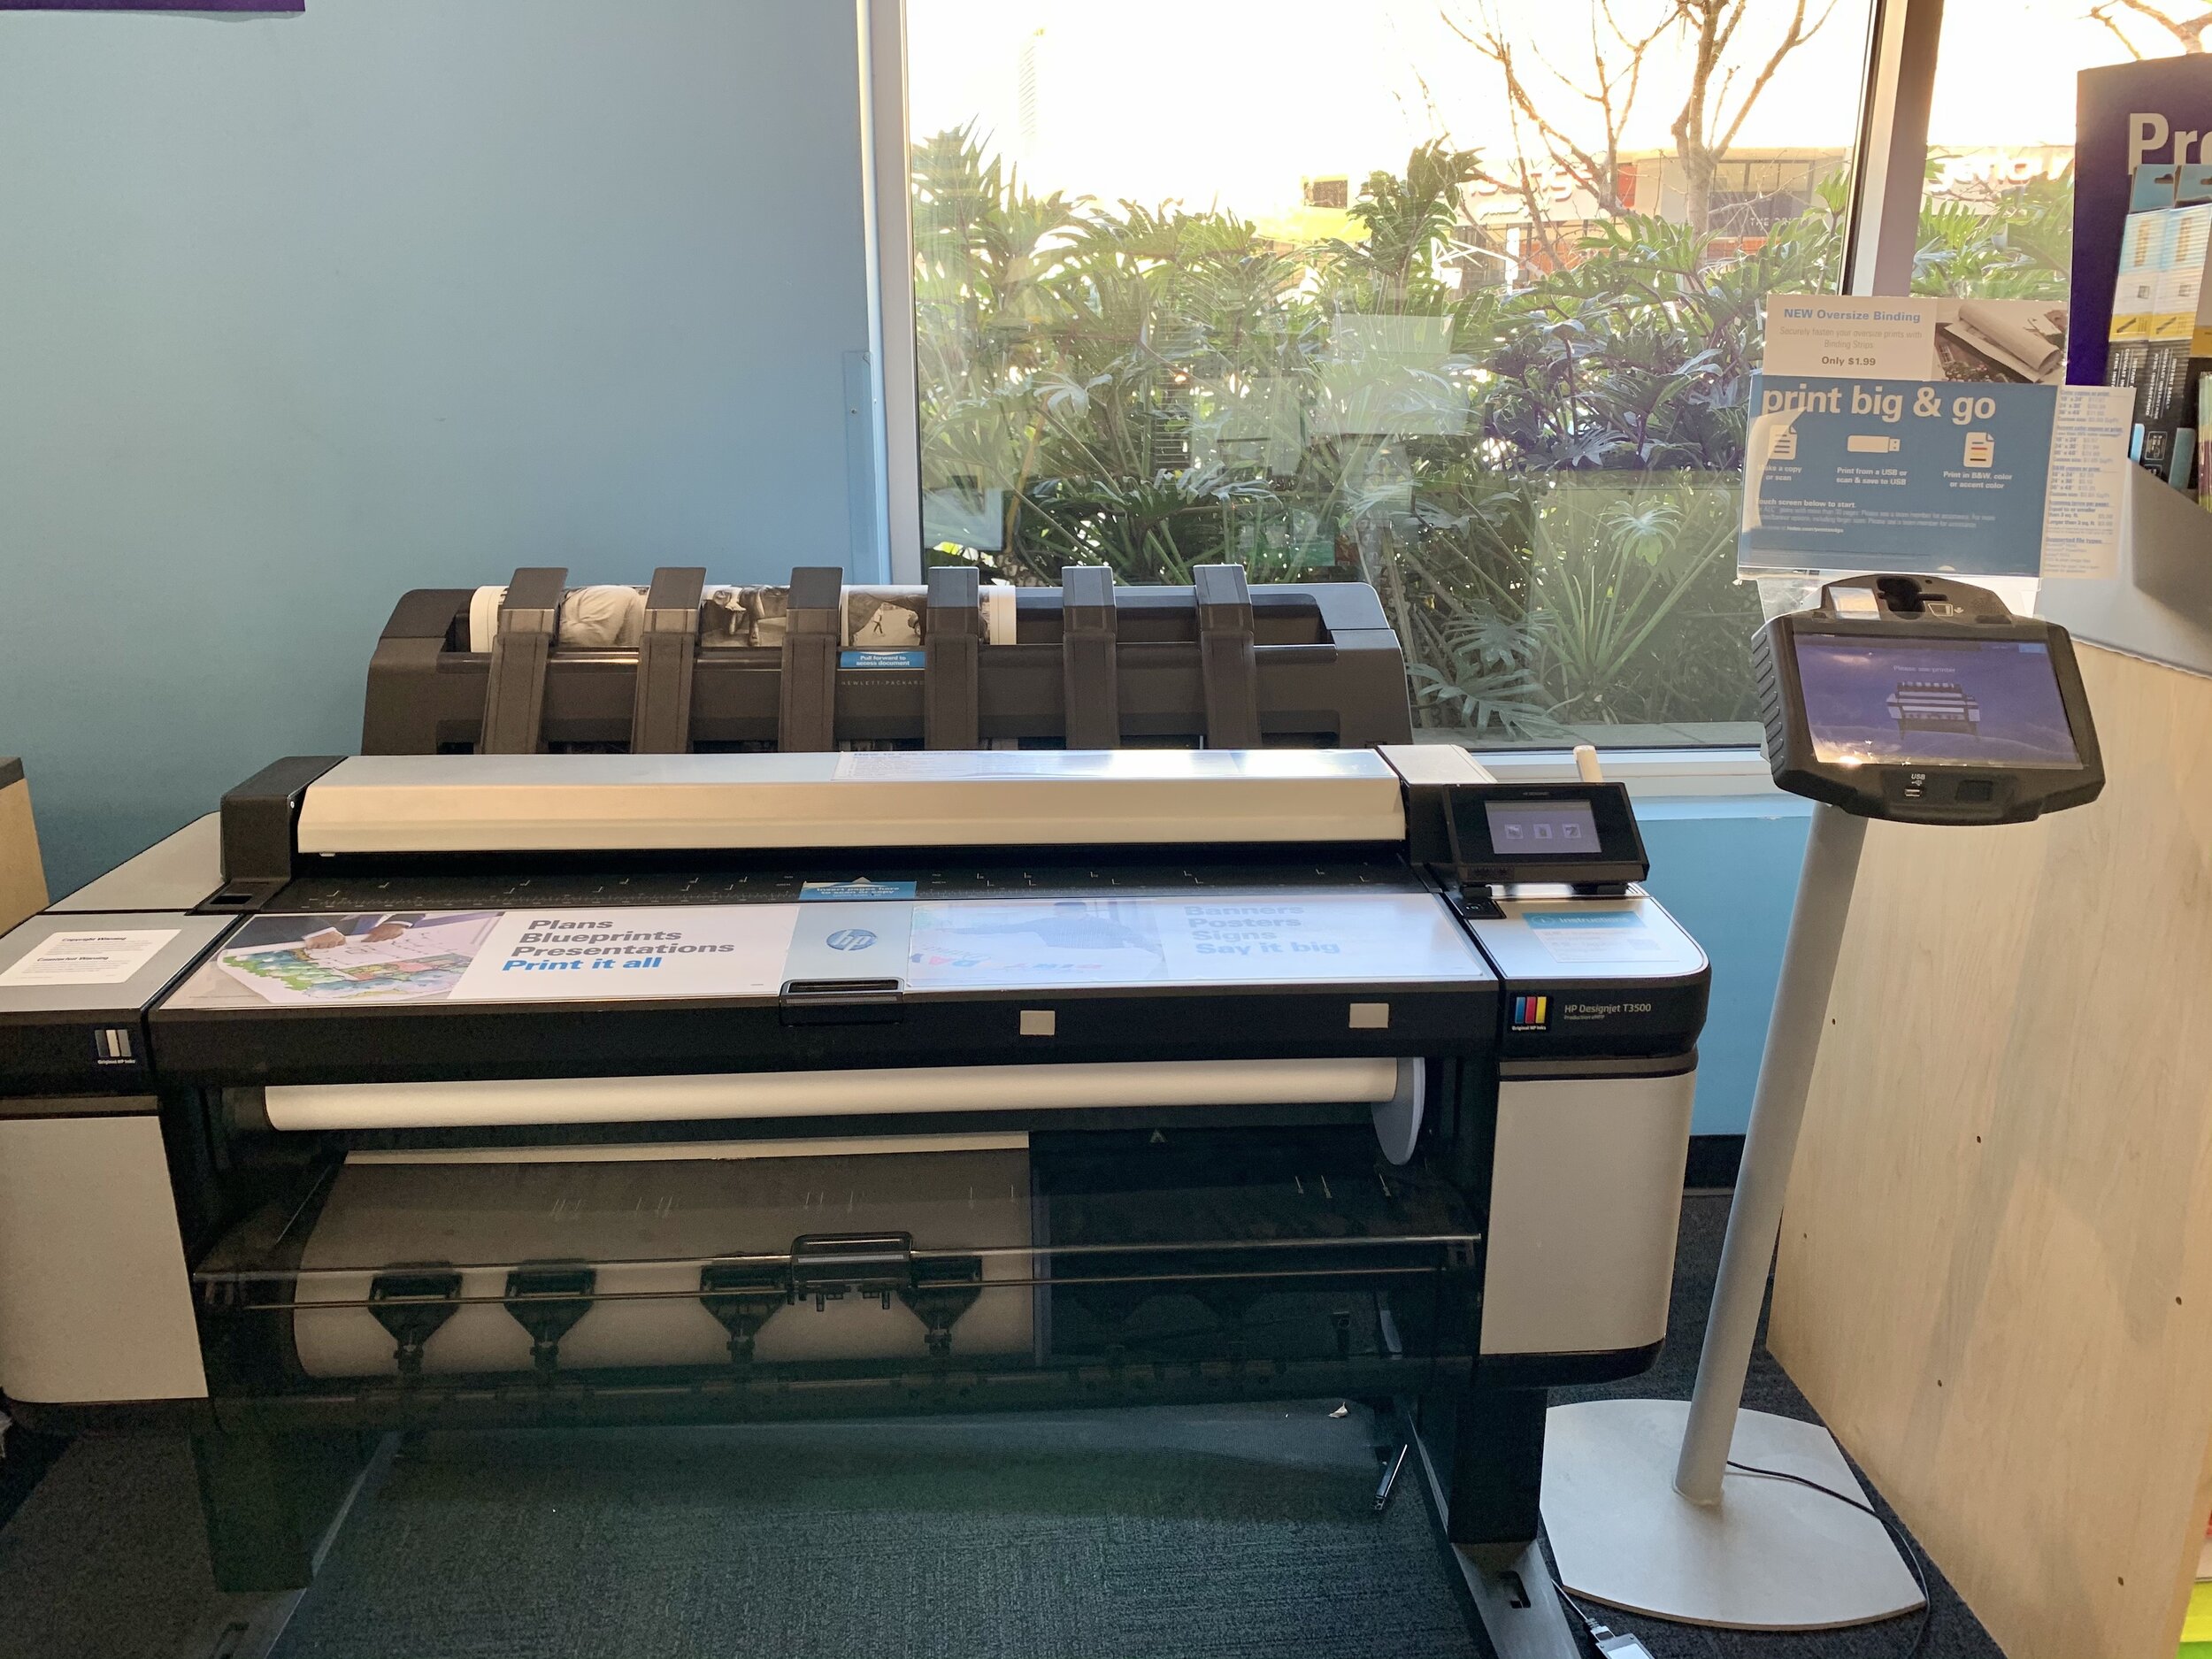
Once all of your images have been inserted and your photo strips are complete, save your file as a .jpg or .pdf and take it on a flash drive to a print shop. (I printed using the self-serve oversize machine at a FedEx print center. You’ll want to print this on oversize paper (sometimes called architect prints). The paper size that I printed on was 36” x 48” because it best fit my document size (which is approximately 28” x 43”, so you will have some extra space left over). The actual photo size will be approximately 7 5/8” x 9”.
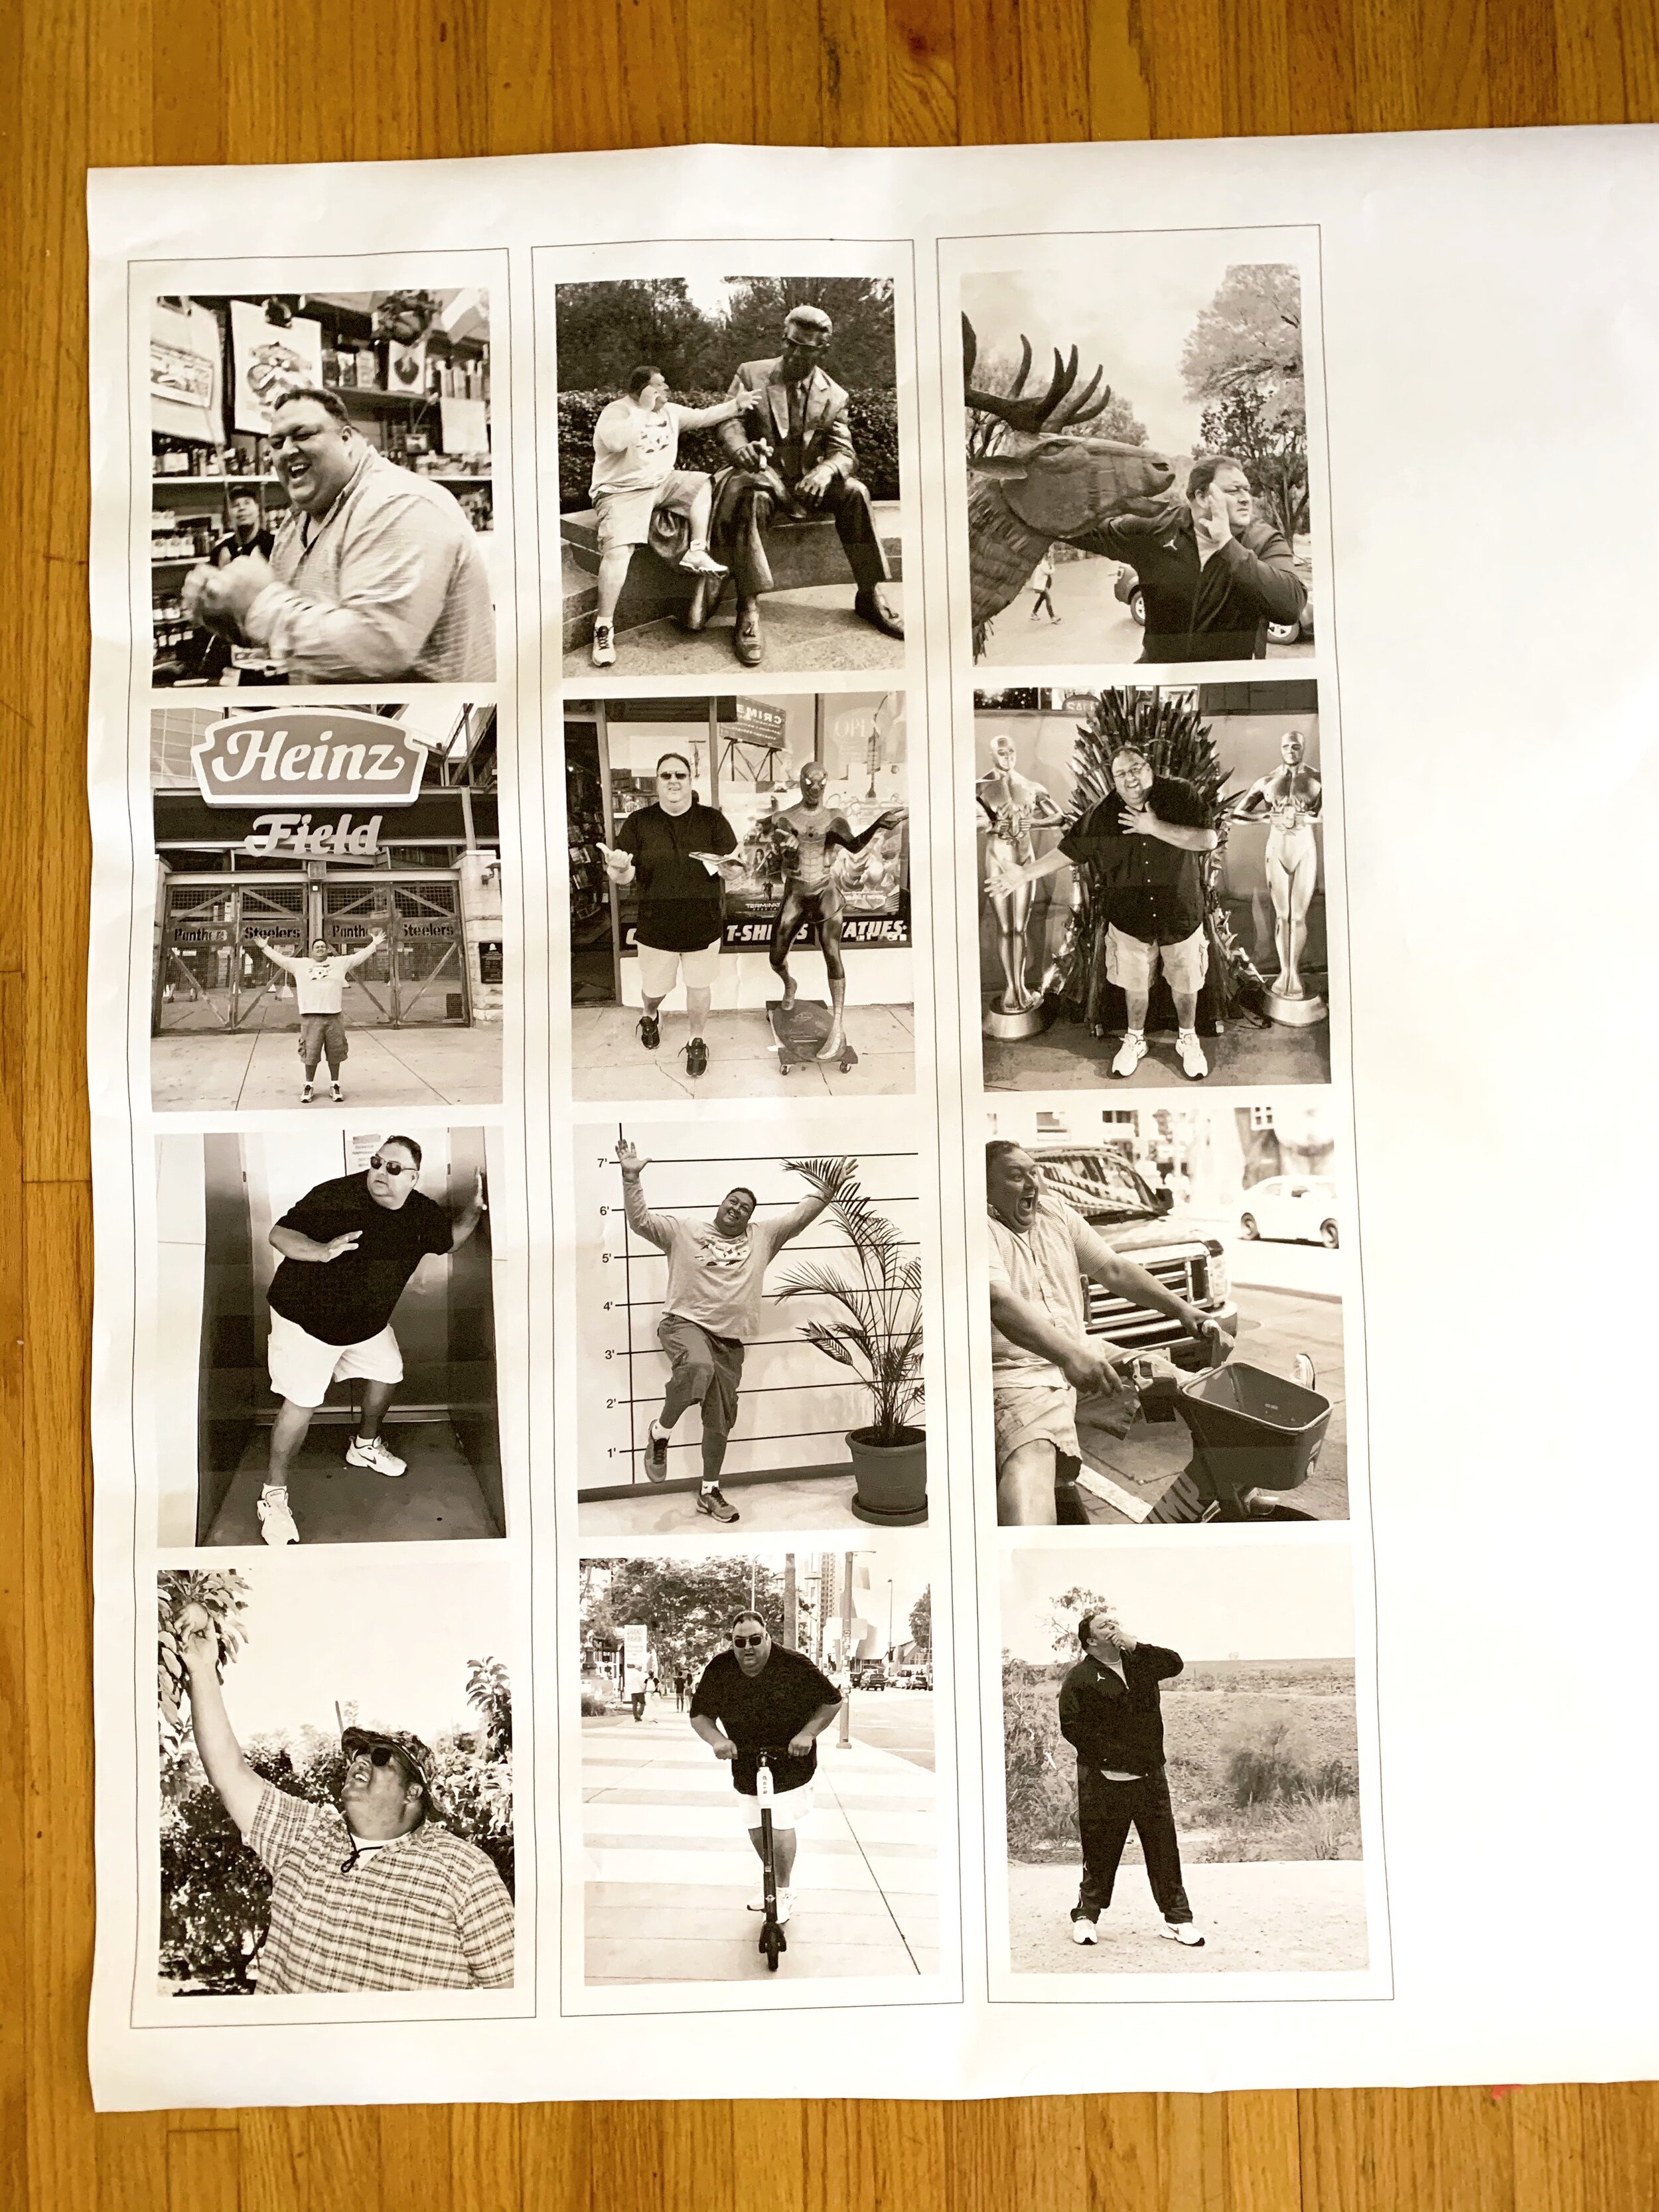

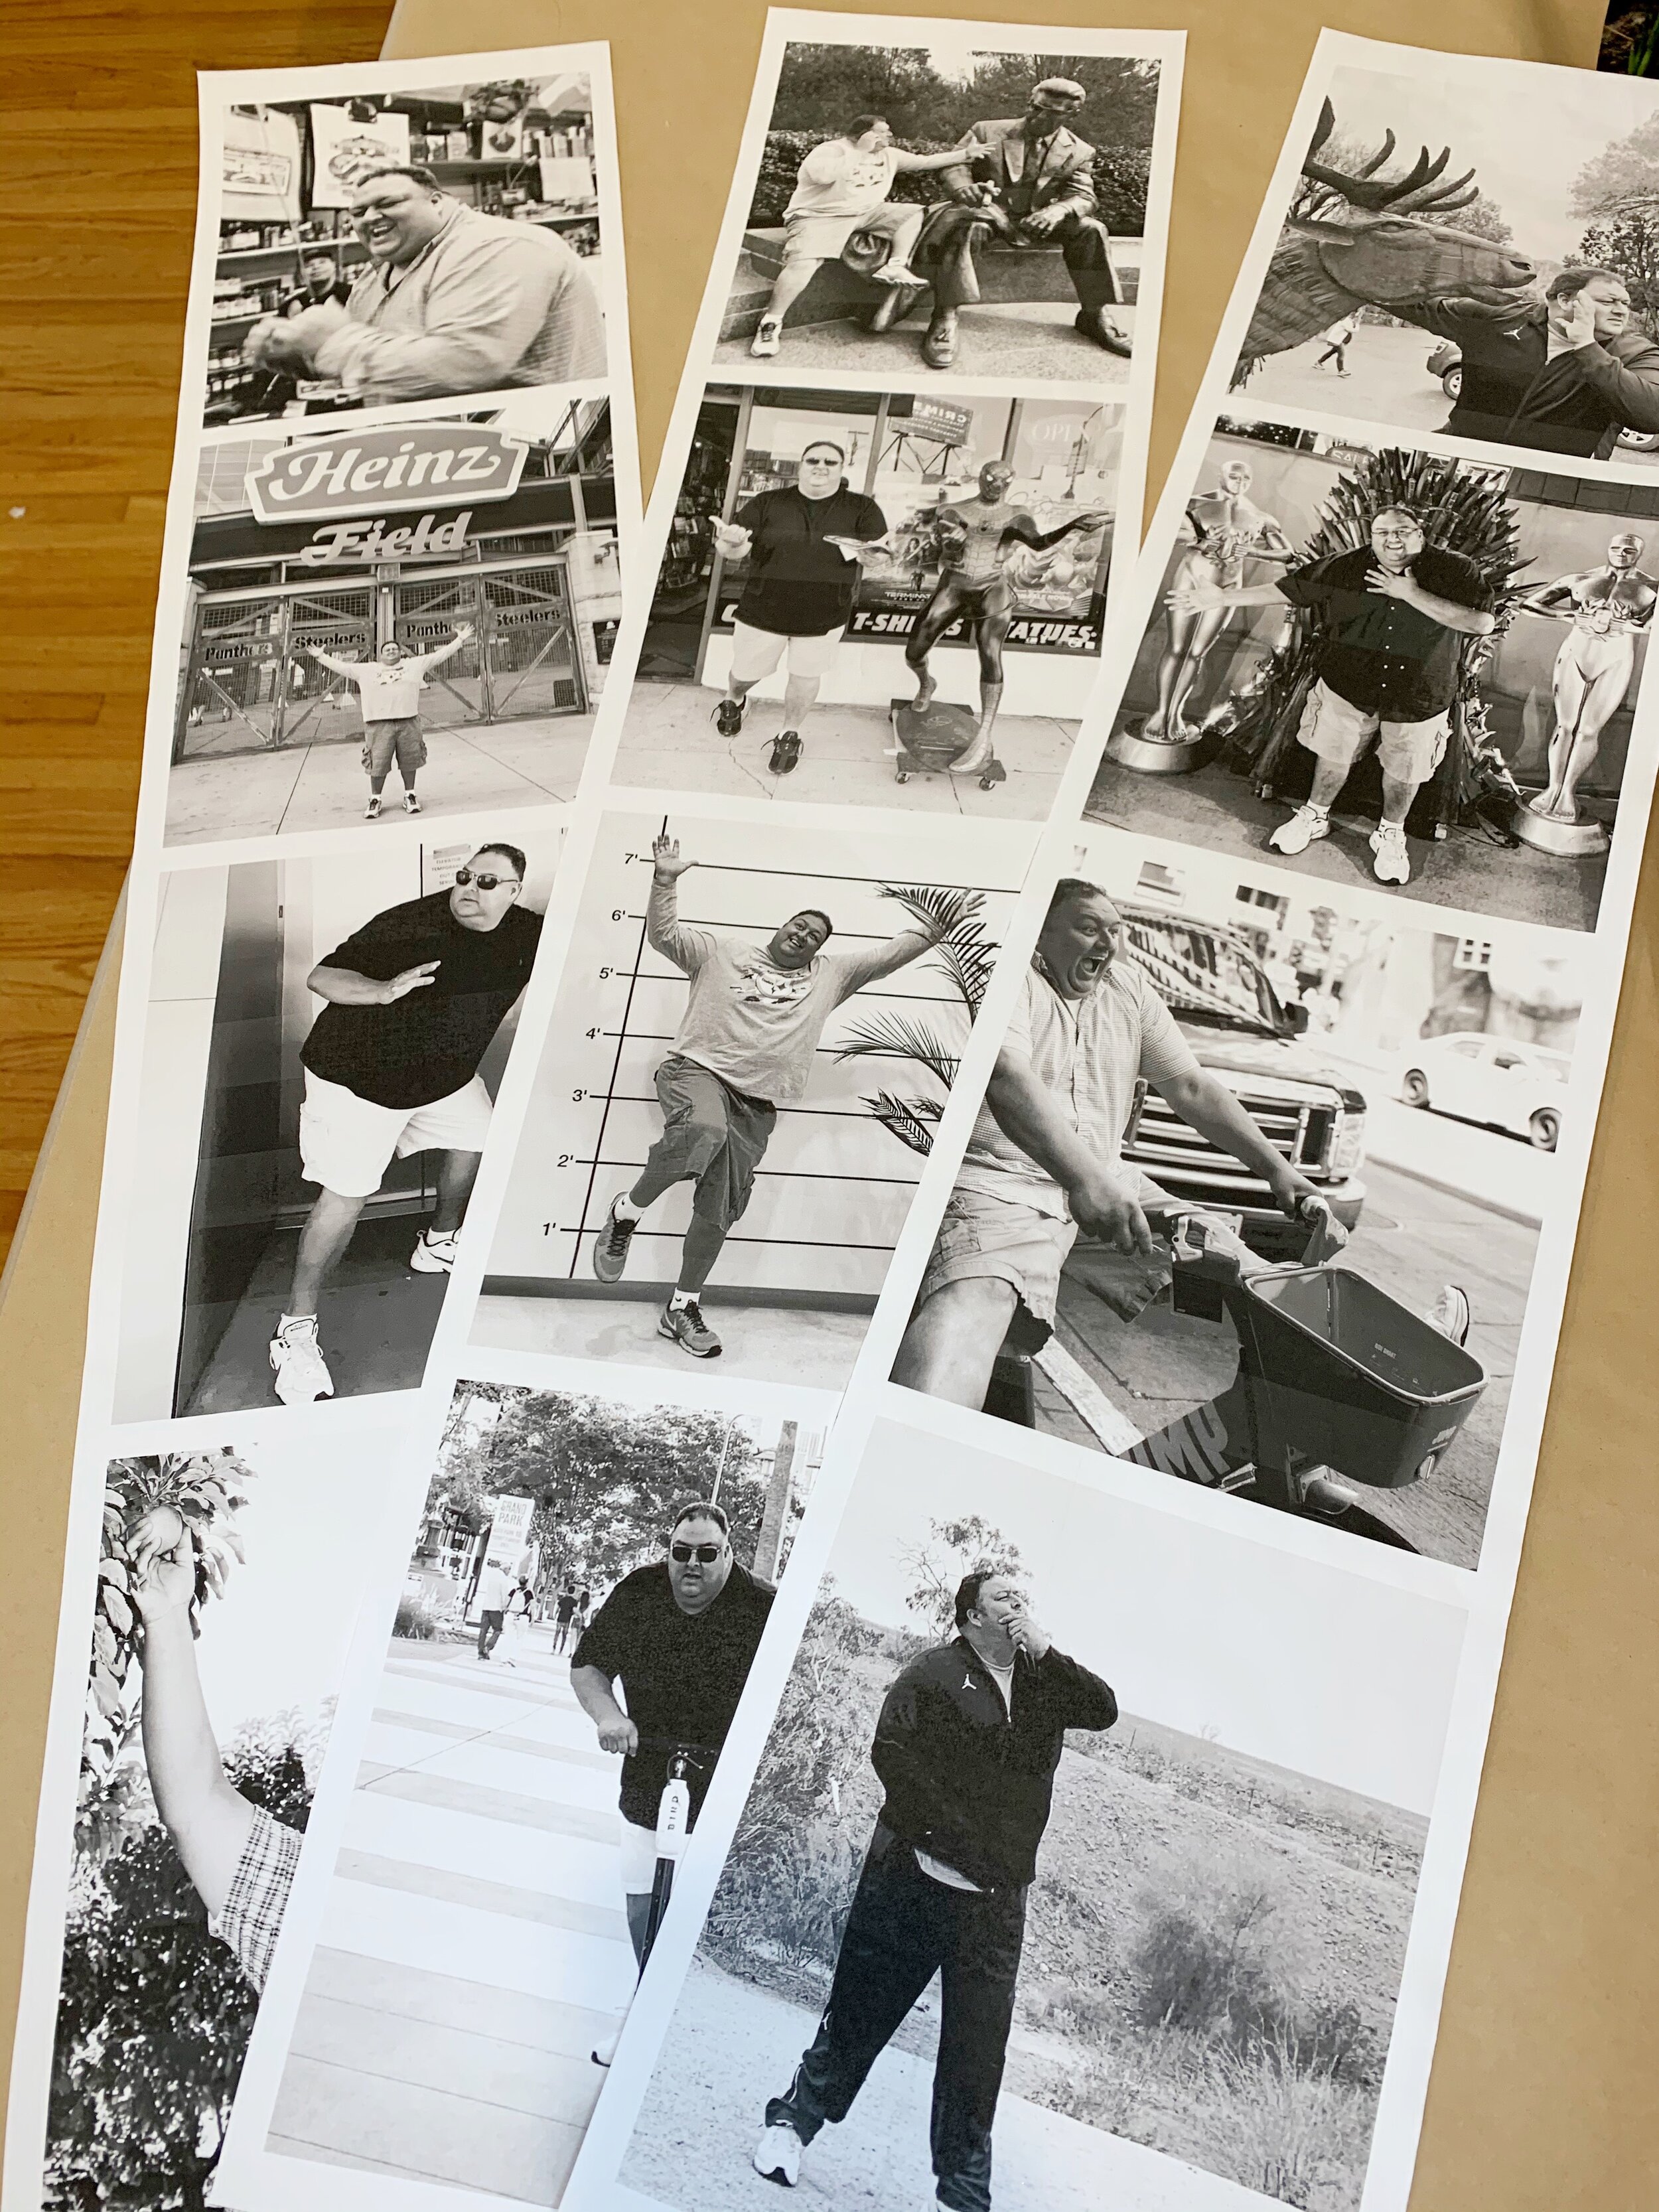
Once printed, I backed the paper with pasteboard to make it more sturdy for when I hang them (this is totally optional). Use scissors to cut out the individual photo strips and hang them on your wall!
I am kind of obsessed with how these turned out and can’t wait to use them to decorate!
What do you think? Are you brave enough to try this little Photoshop project? Feel free to comment with any questions and I’ll help ya out!
Cheers!
Ash

