


Mini Heart Piñata

Valentine’s Day is around the corner and I thought I’d share this easy heart piñata how to made with materials you probably already have around your house!
These make such fun gifts that you can stuff with all kinds of goodies! Let’s get started!
Materials:
Cardboard to make the body of the piñata, Amazon and cereal boxes work great
2 cardboard strips
Fringe - any kind of paper works; tissue paper, party streamers, magazines (I used a mix of tissue paper and party streamers)
Masking tape
Glue stick
Scissors
X-acto knife
Twine or Ribbon, to hang the piñata
Heart template (or you can draw directly on your cardboard)
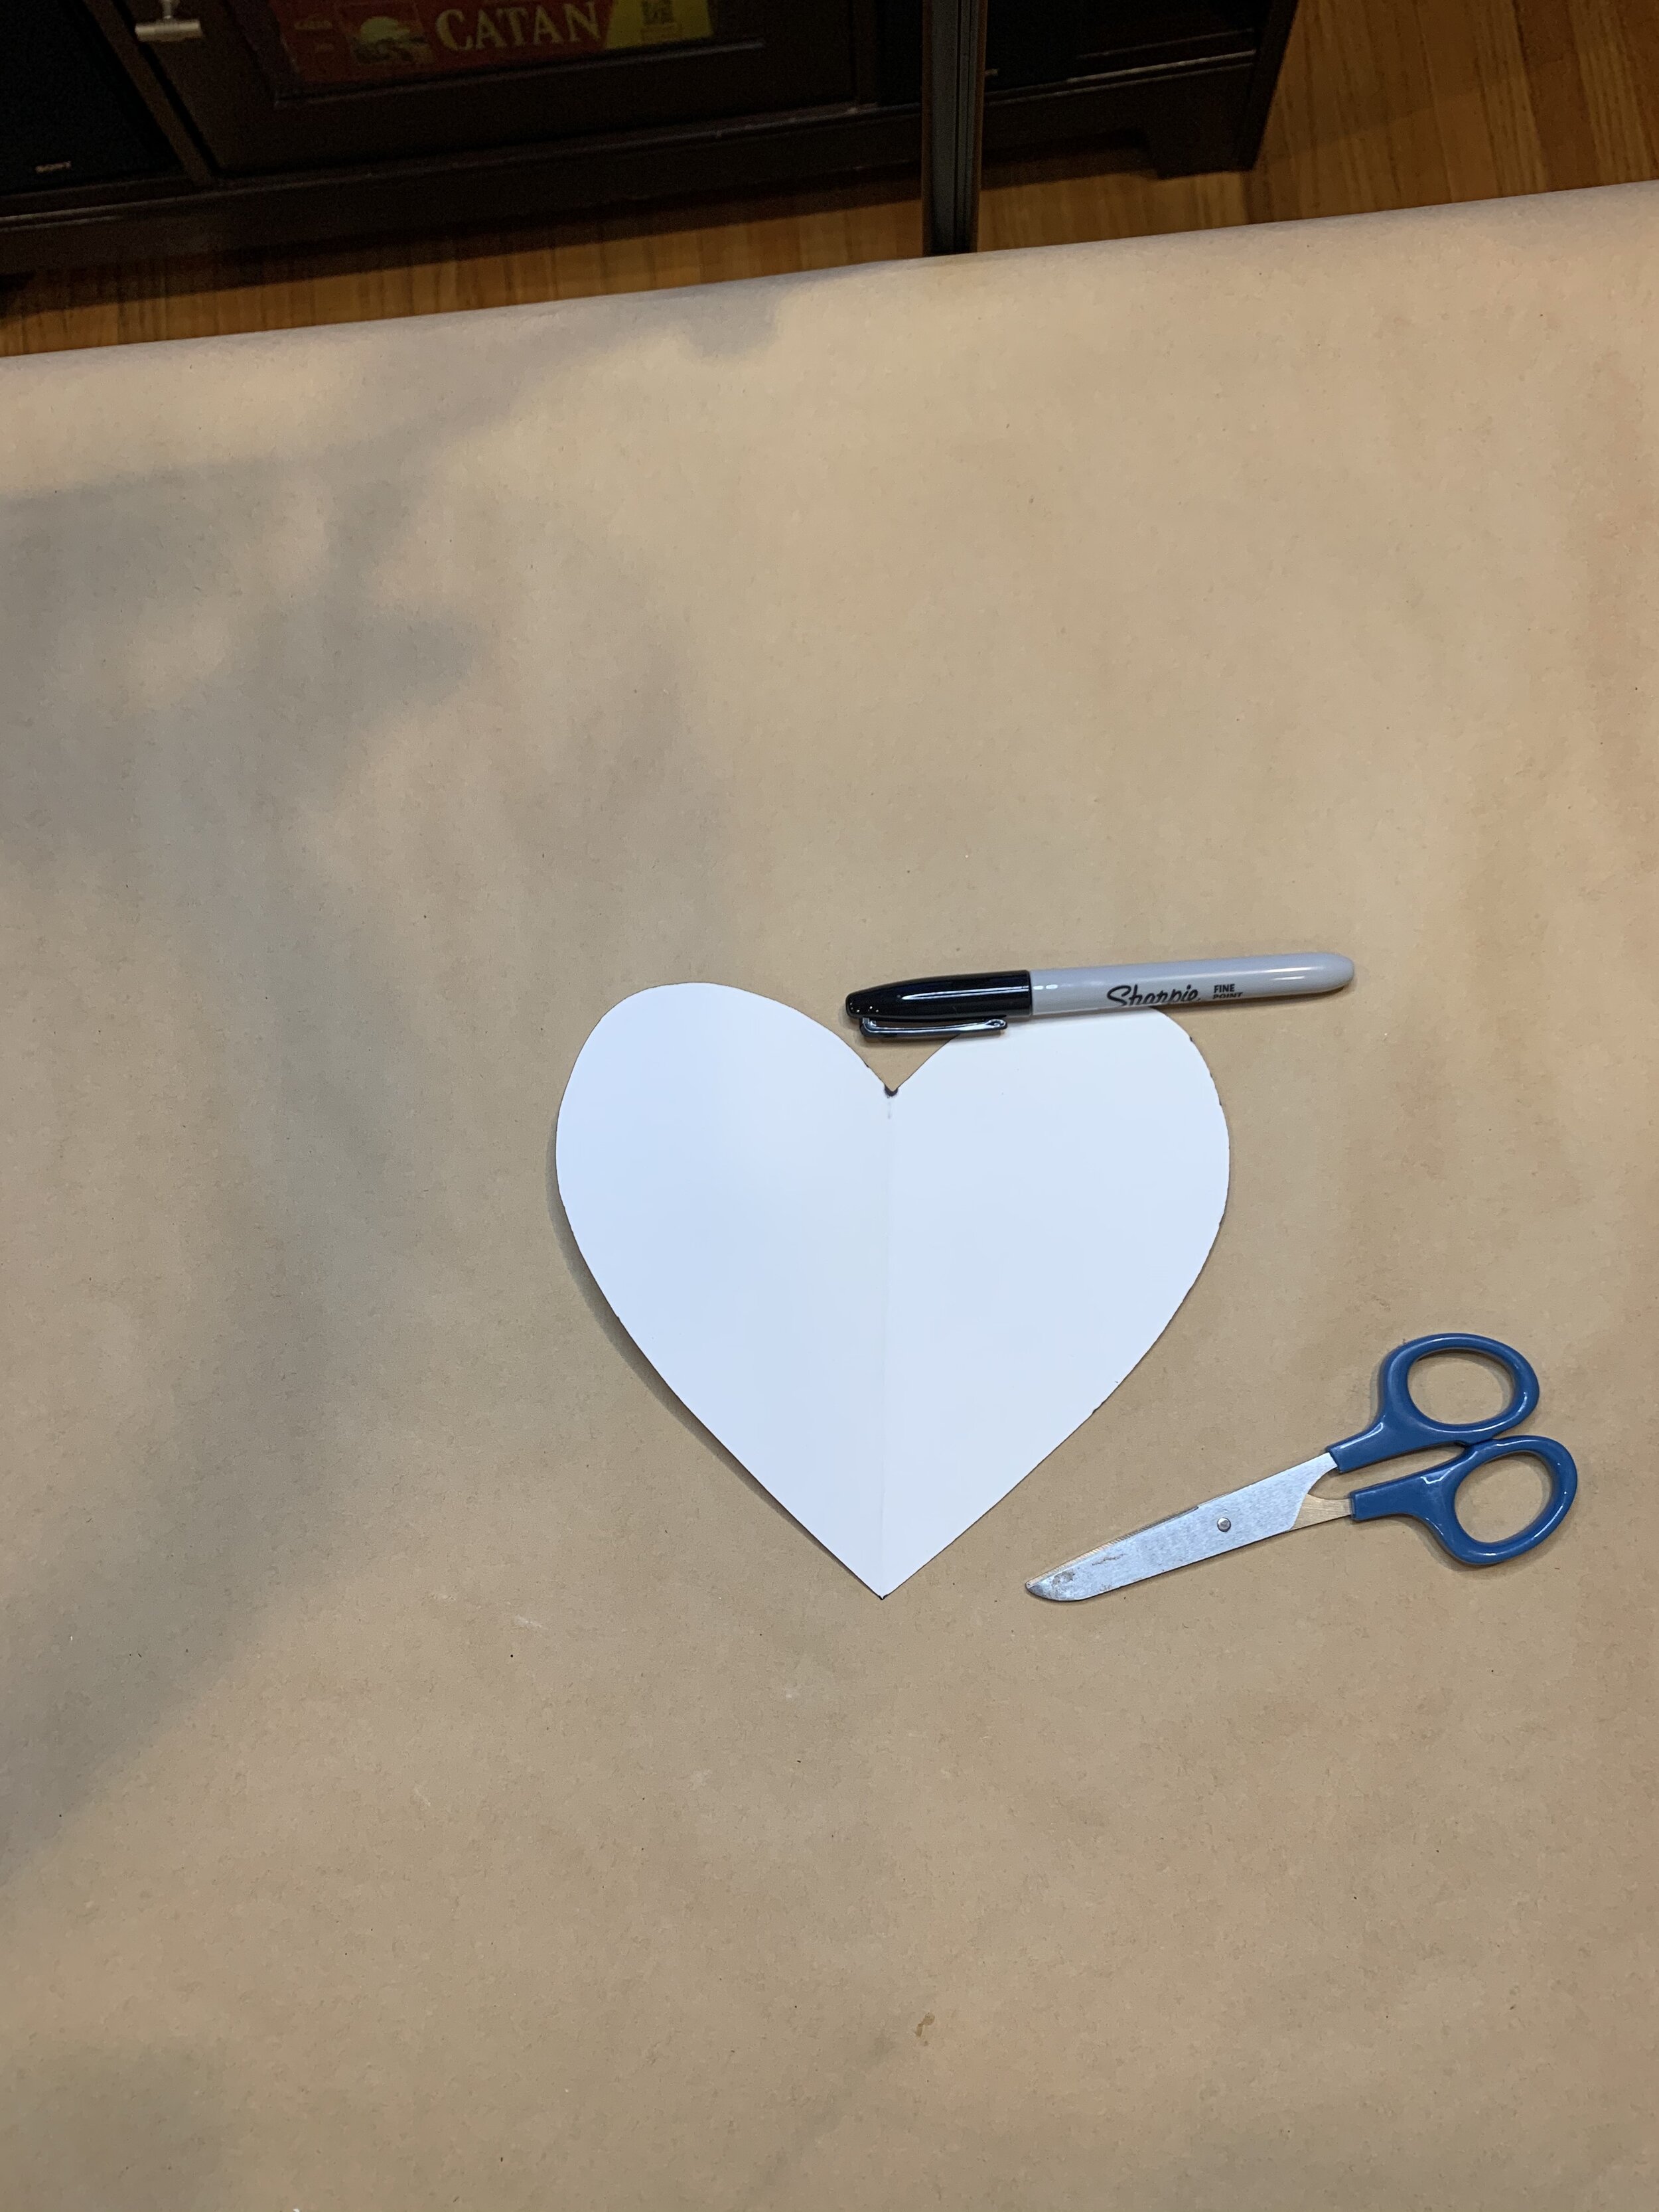


Building the body of your piñata:
Prepare your tape: cut 2" strips of masking tape and have them handy for easy access
Take your cardboard strips and roll them up to make them pliable
Take your cut cardboard hearts and place some tape strips all around both pieces
Take a cardboard strip and place around the first heart shape using the tape already adhered
Take your second strip and connect to other strip and base. Once border is complete, trim off the extra strip tail with your scissors


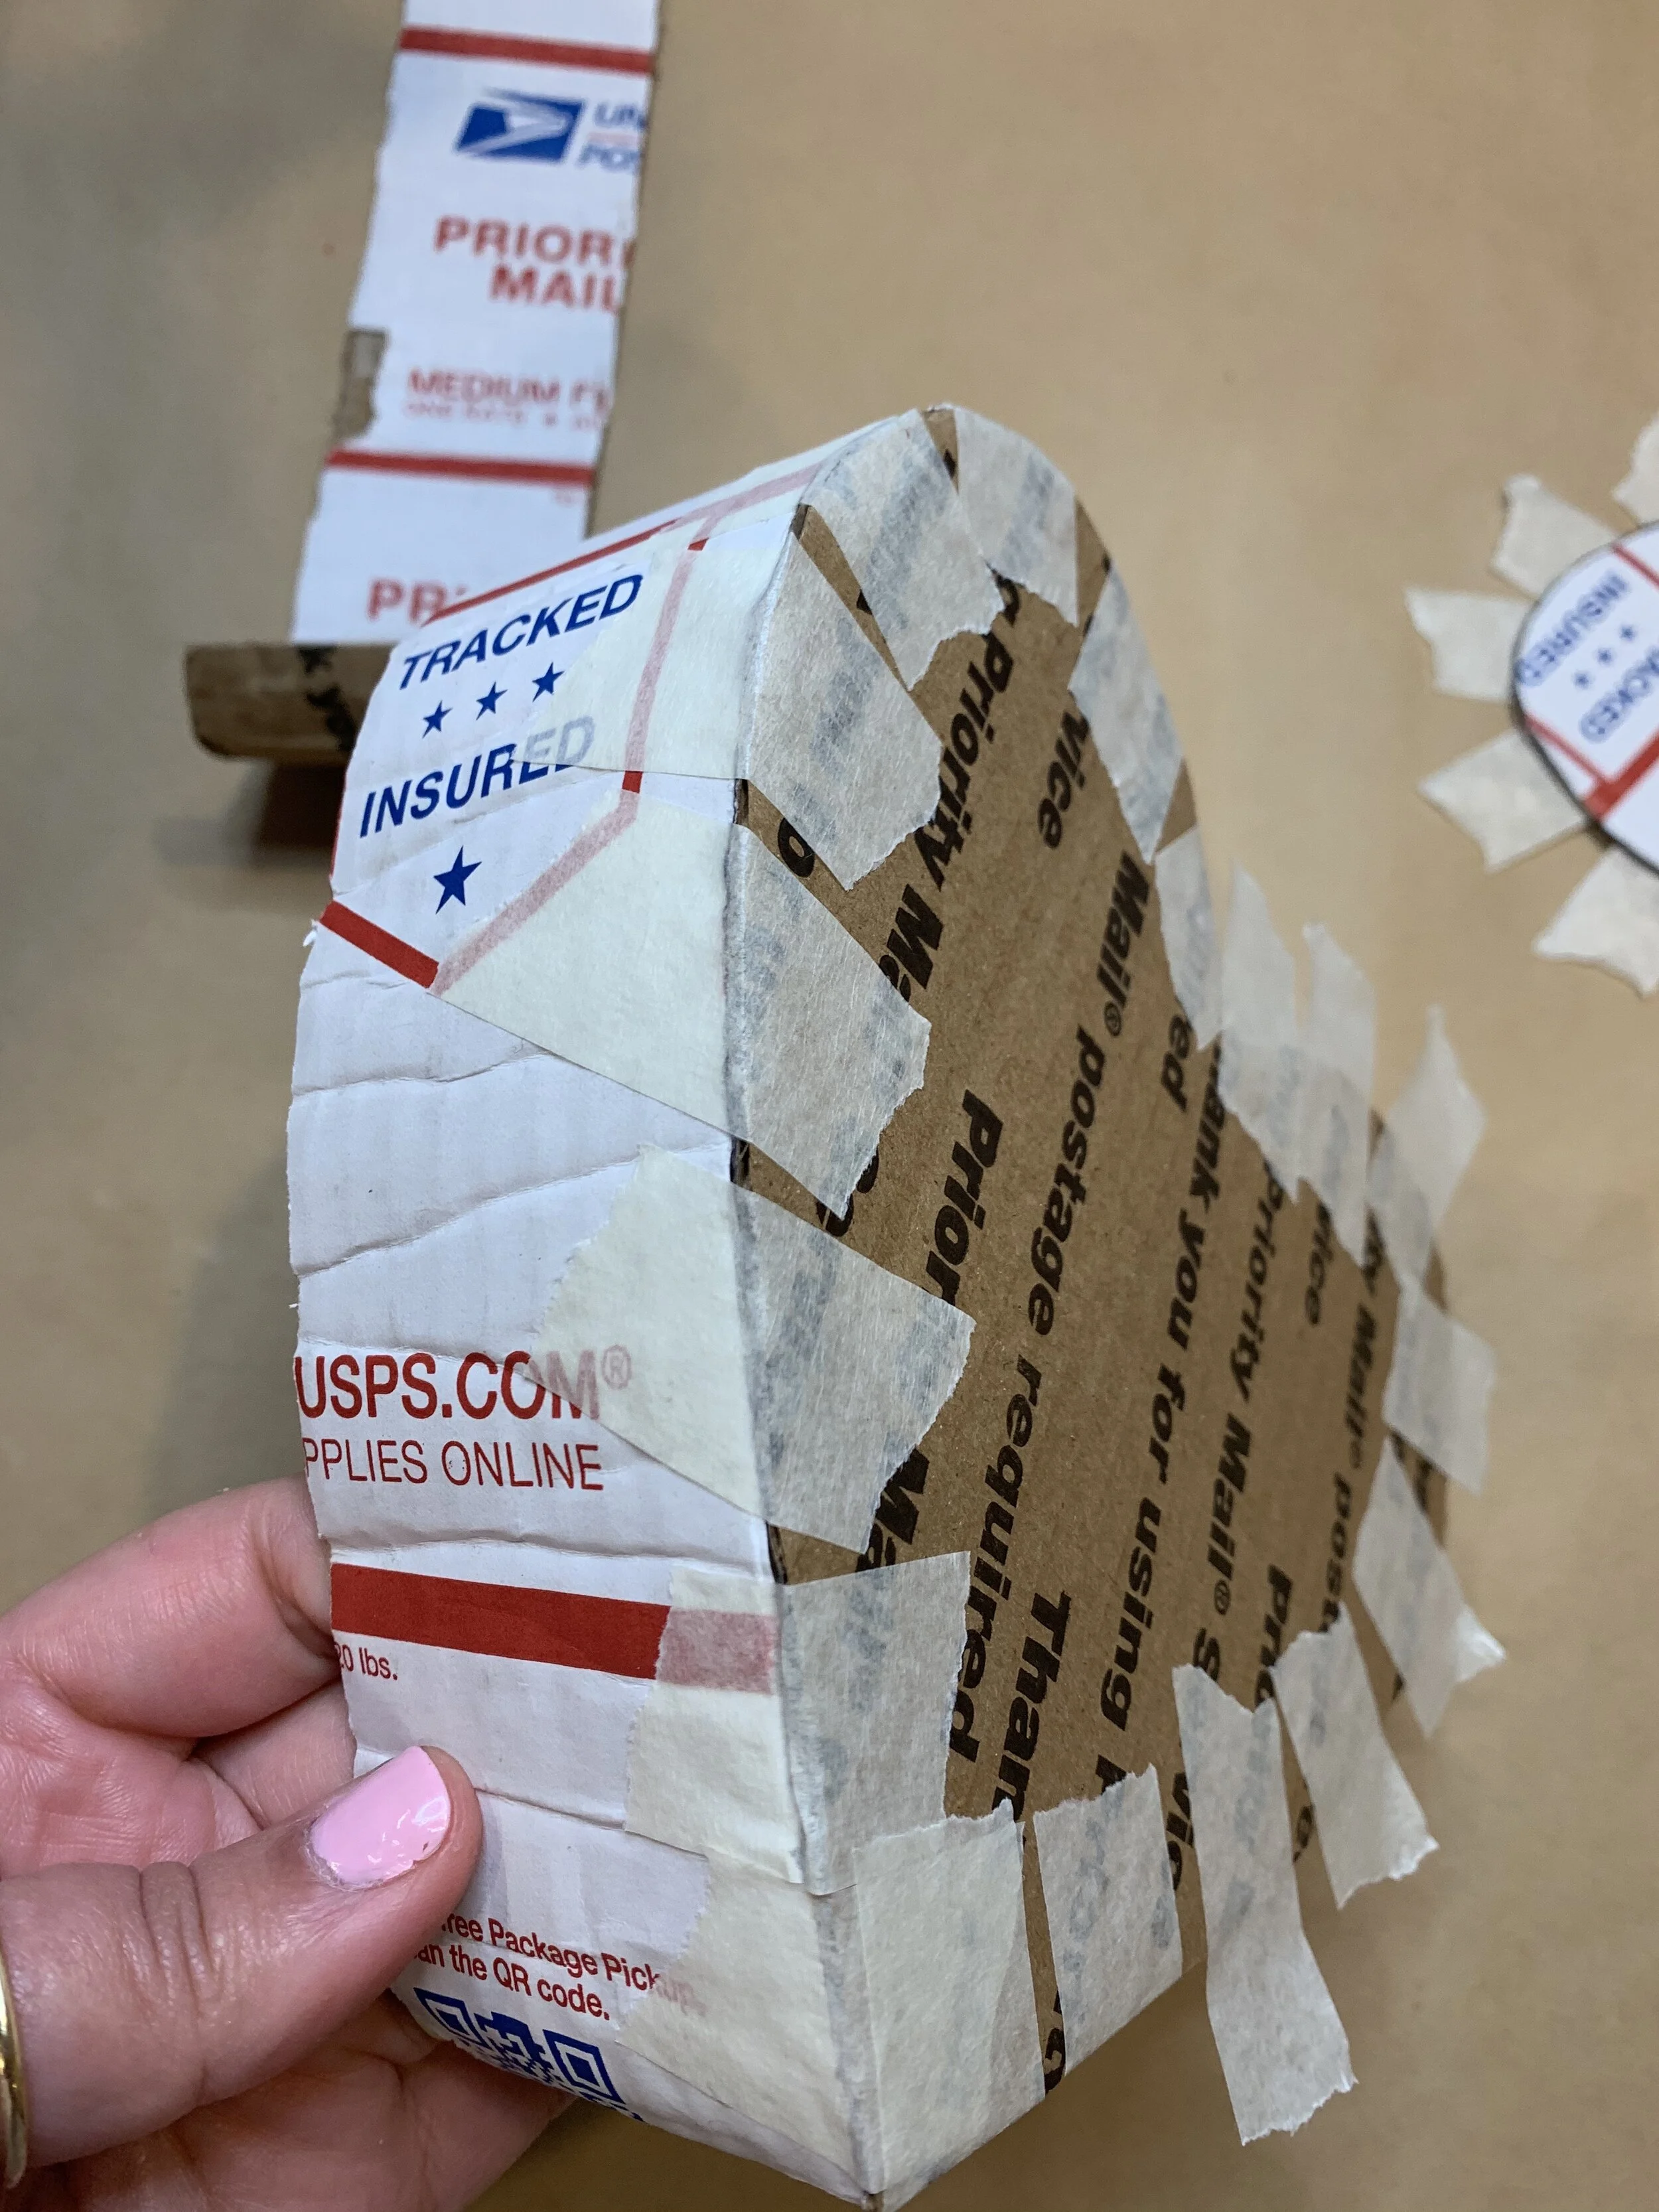


Put as many pieces of masking tape on your shape to make sure it is sturdy
Take your ribbon and cut off a piece, about 8”, make a loop and tie a knot at the base
With your X-acto knife, CAREFULLY make a small ‘X’ at the top of your heart (this is where your piñata will hang from) and push the knot through the ‘X’ - you can use your scissors or a pencil to help push it through. Secure the bottom with masking tape
Take the second cardboard heart and place over cardboard strip that's already taped to the first shape and tape down.
Once your piñata is secure and sturdy, take your exacto knife and cut a flap large enough to fit your goodies


Fringe:
If using tissue paper, cut long, approximately 2” width strips
Take your strips or streamers and begin wrapping it around your hand several times (don’t make it too think or else it will be very hard to cut)
Slide the wrapped streamer off your hand. Take your scissors and put one part of scissor blade into the hole, where your hand was, and starting on the end of the wrap begin cutting slits, leaving about a 1/2” border on top ( this is how we glue it onto the piñata). The more slits you have the fluffier your piñata will be
Repeat this several times to cut enough fringe for the whole heart. (I wrapped my streamer around 12-15 times and needed about 2 1/2 wraps per side for the body
Cut 3 strips of tissue or streamer paper, about 6” long, don’t fringe these, leave them plain


Decorating your piñata:
Take the plain paper strips and with your gluestick, adhere them down at the base of all the heart parts
Fringe time! Begin gluing the top piece of plain strip that you already adhered. Grab your first fringe wrap and layer it on top and cut.
Always remember, when you fringe you want to go from BOTTOM TO TOP
Make sure to place the next fringe piece slightly above the previous piece to begin to form layers of fringe. Continue alternating with your fringe, until you reach the top of the heart. Trim off the excess side pieces.
I decorated the front of my piñata with sticker letters.


Repeat the same steps for the back and sides.
With your fingers, carefully fluff the fringe by using your hand and gently rub the paper up.


Fill with goodies and you’re all set!

Here’s a full video of me making the piñata, step by step:
Cheers!
Ash

