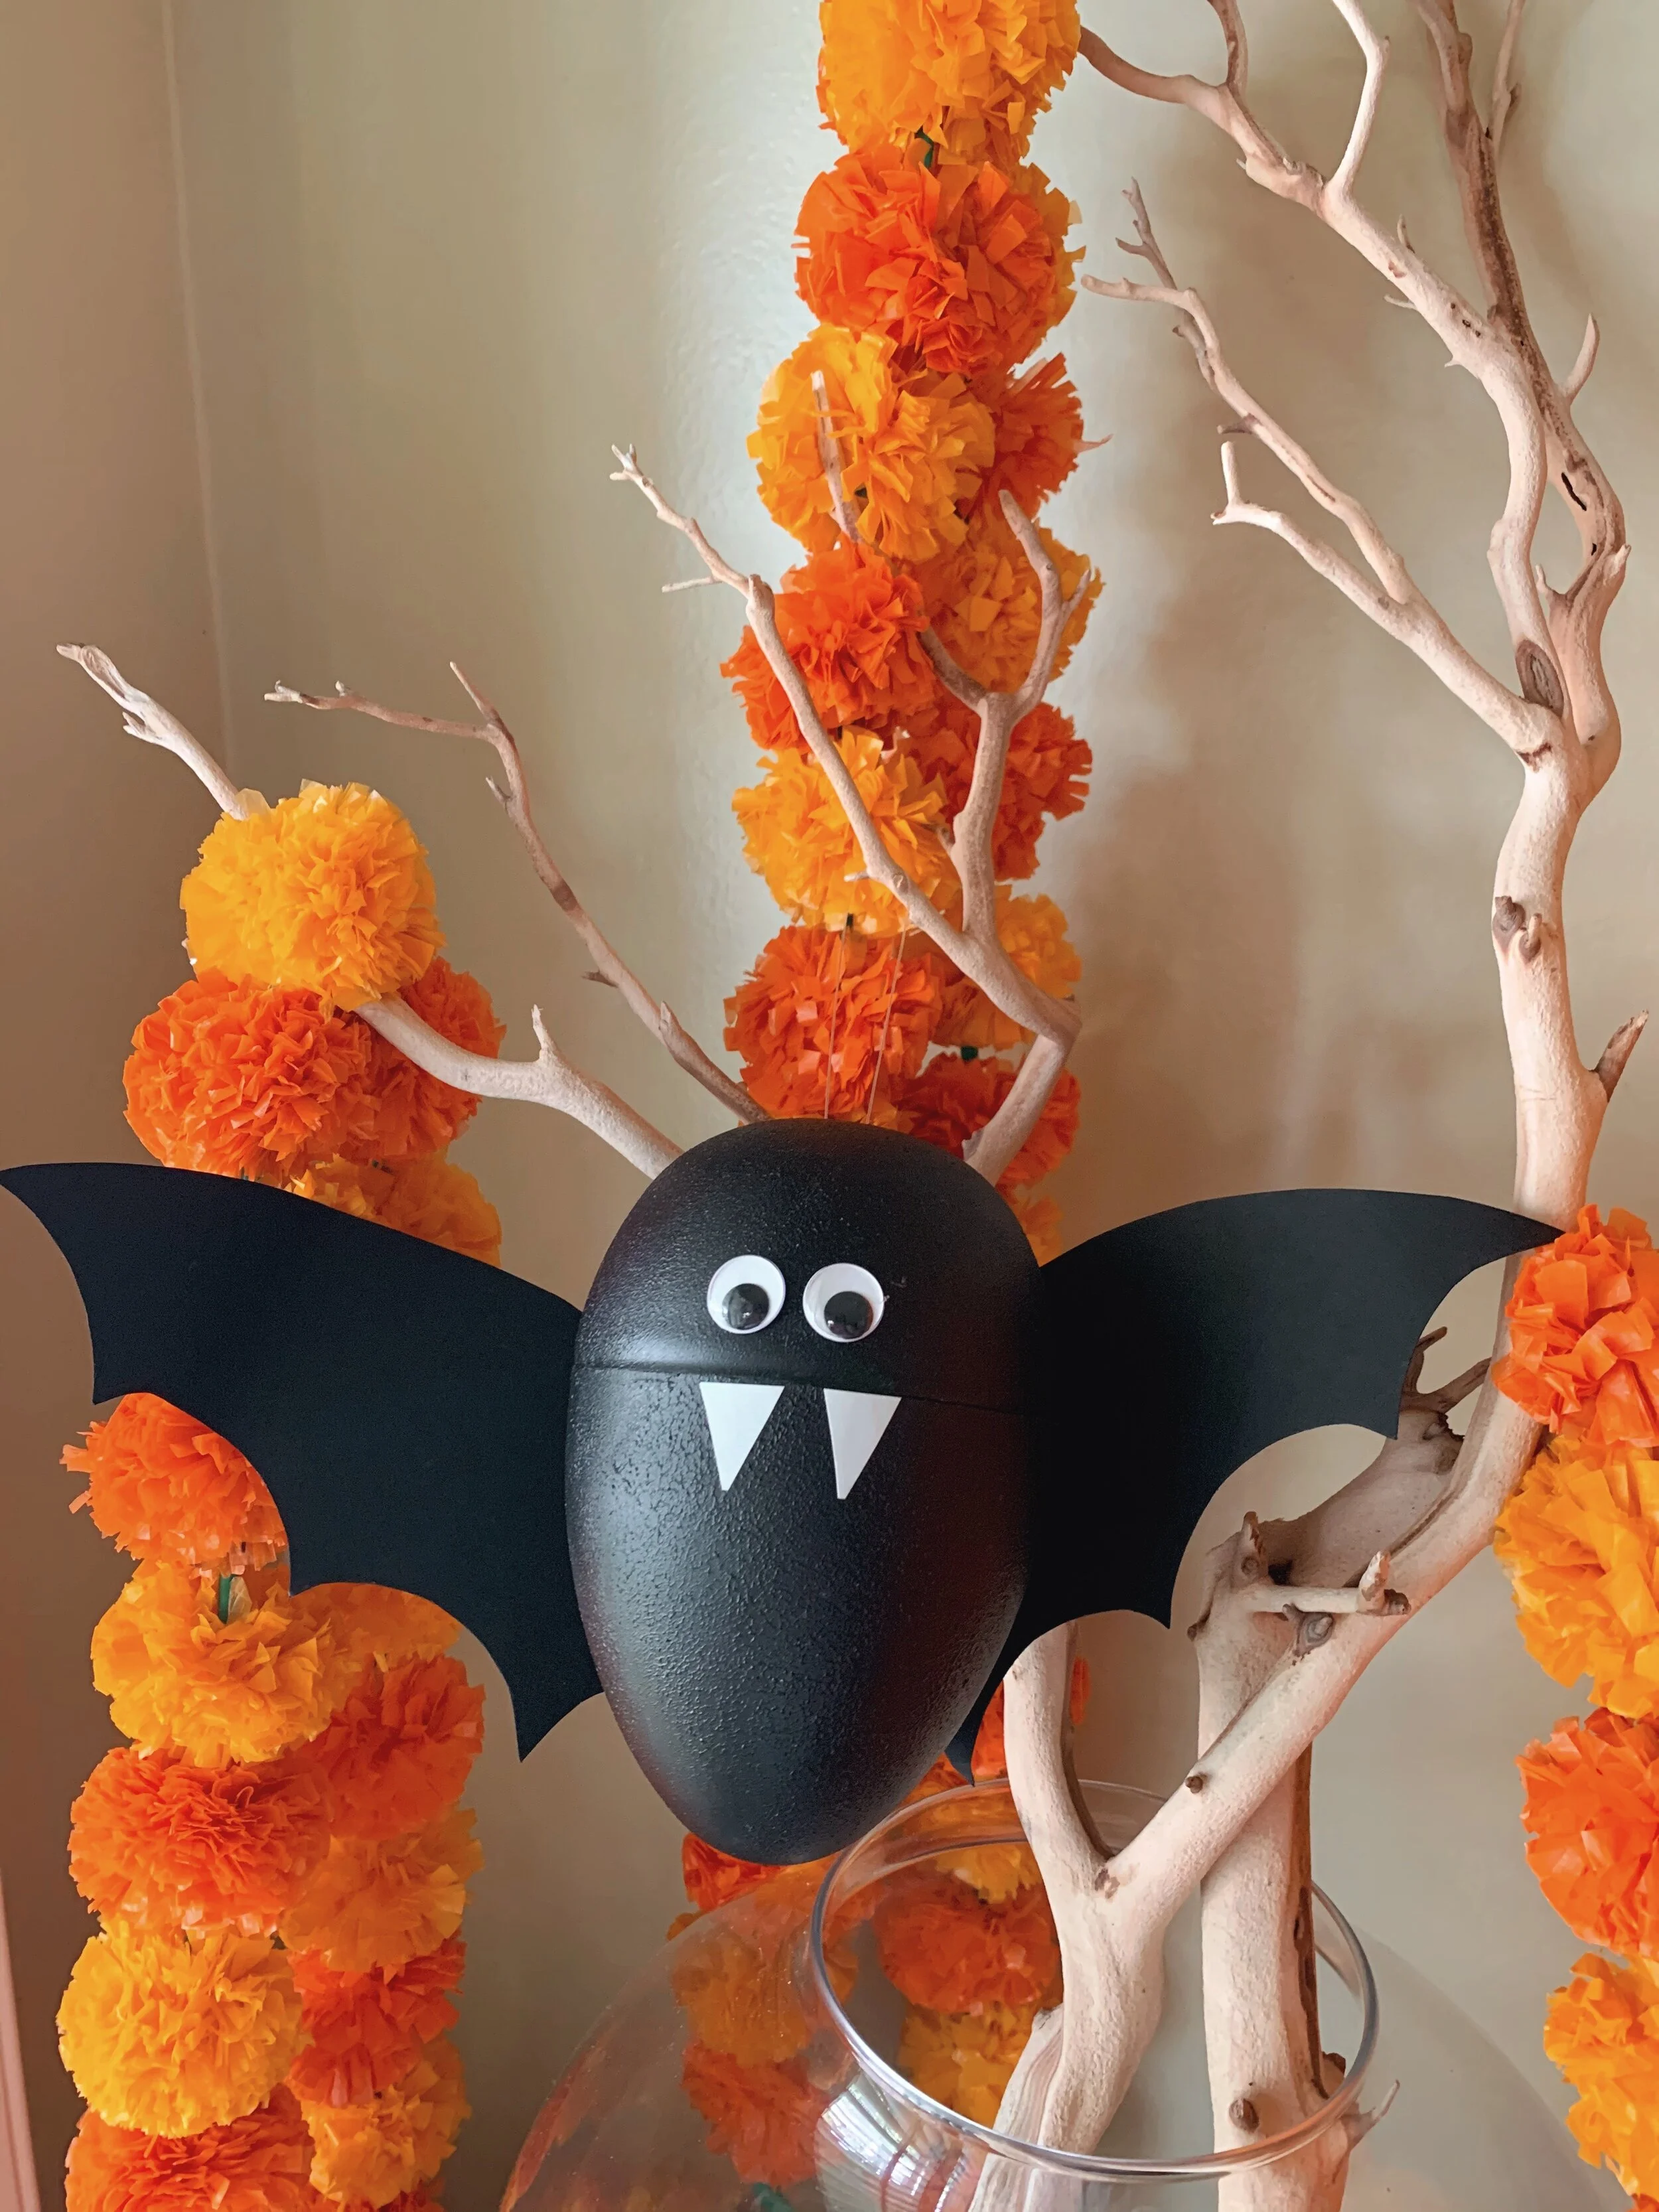
Halloween Candy Pouch
A Ghost Walks Into a Bar…
Q: Why did the ghost go into the bar?
A: For the Boos.
Ba - dum - tss! Ok ok, I’ll stick to the crafts :)
These little halloween pouches were my first go at candy pouches and the inspiration for my easter bunny packs that were such a big hit.


Halloween Candy Pouch
Step 1: Gather your supplies
Candy or any other little chachki’s, brown kraft paper, embossing heat tool, clear embossing powder, ink pads, halloween stamps, scissors, sewing machine (or just a good ole hot glue gun)


Step 2: Cut out rectangles out of your kraft paper — size will depend on what you are stuffing your pack with. I made mine 5x7.
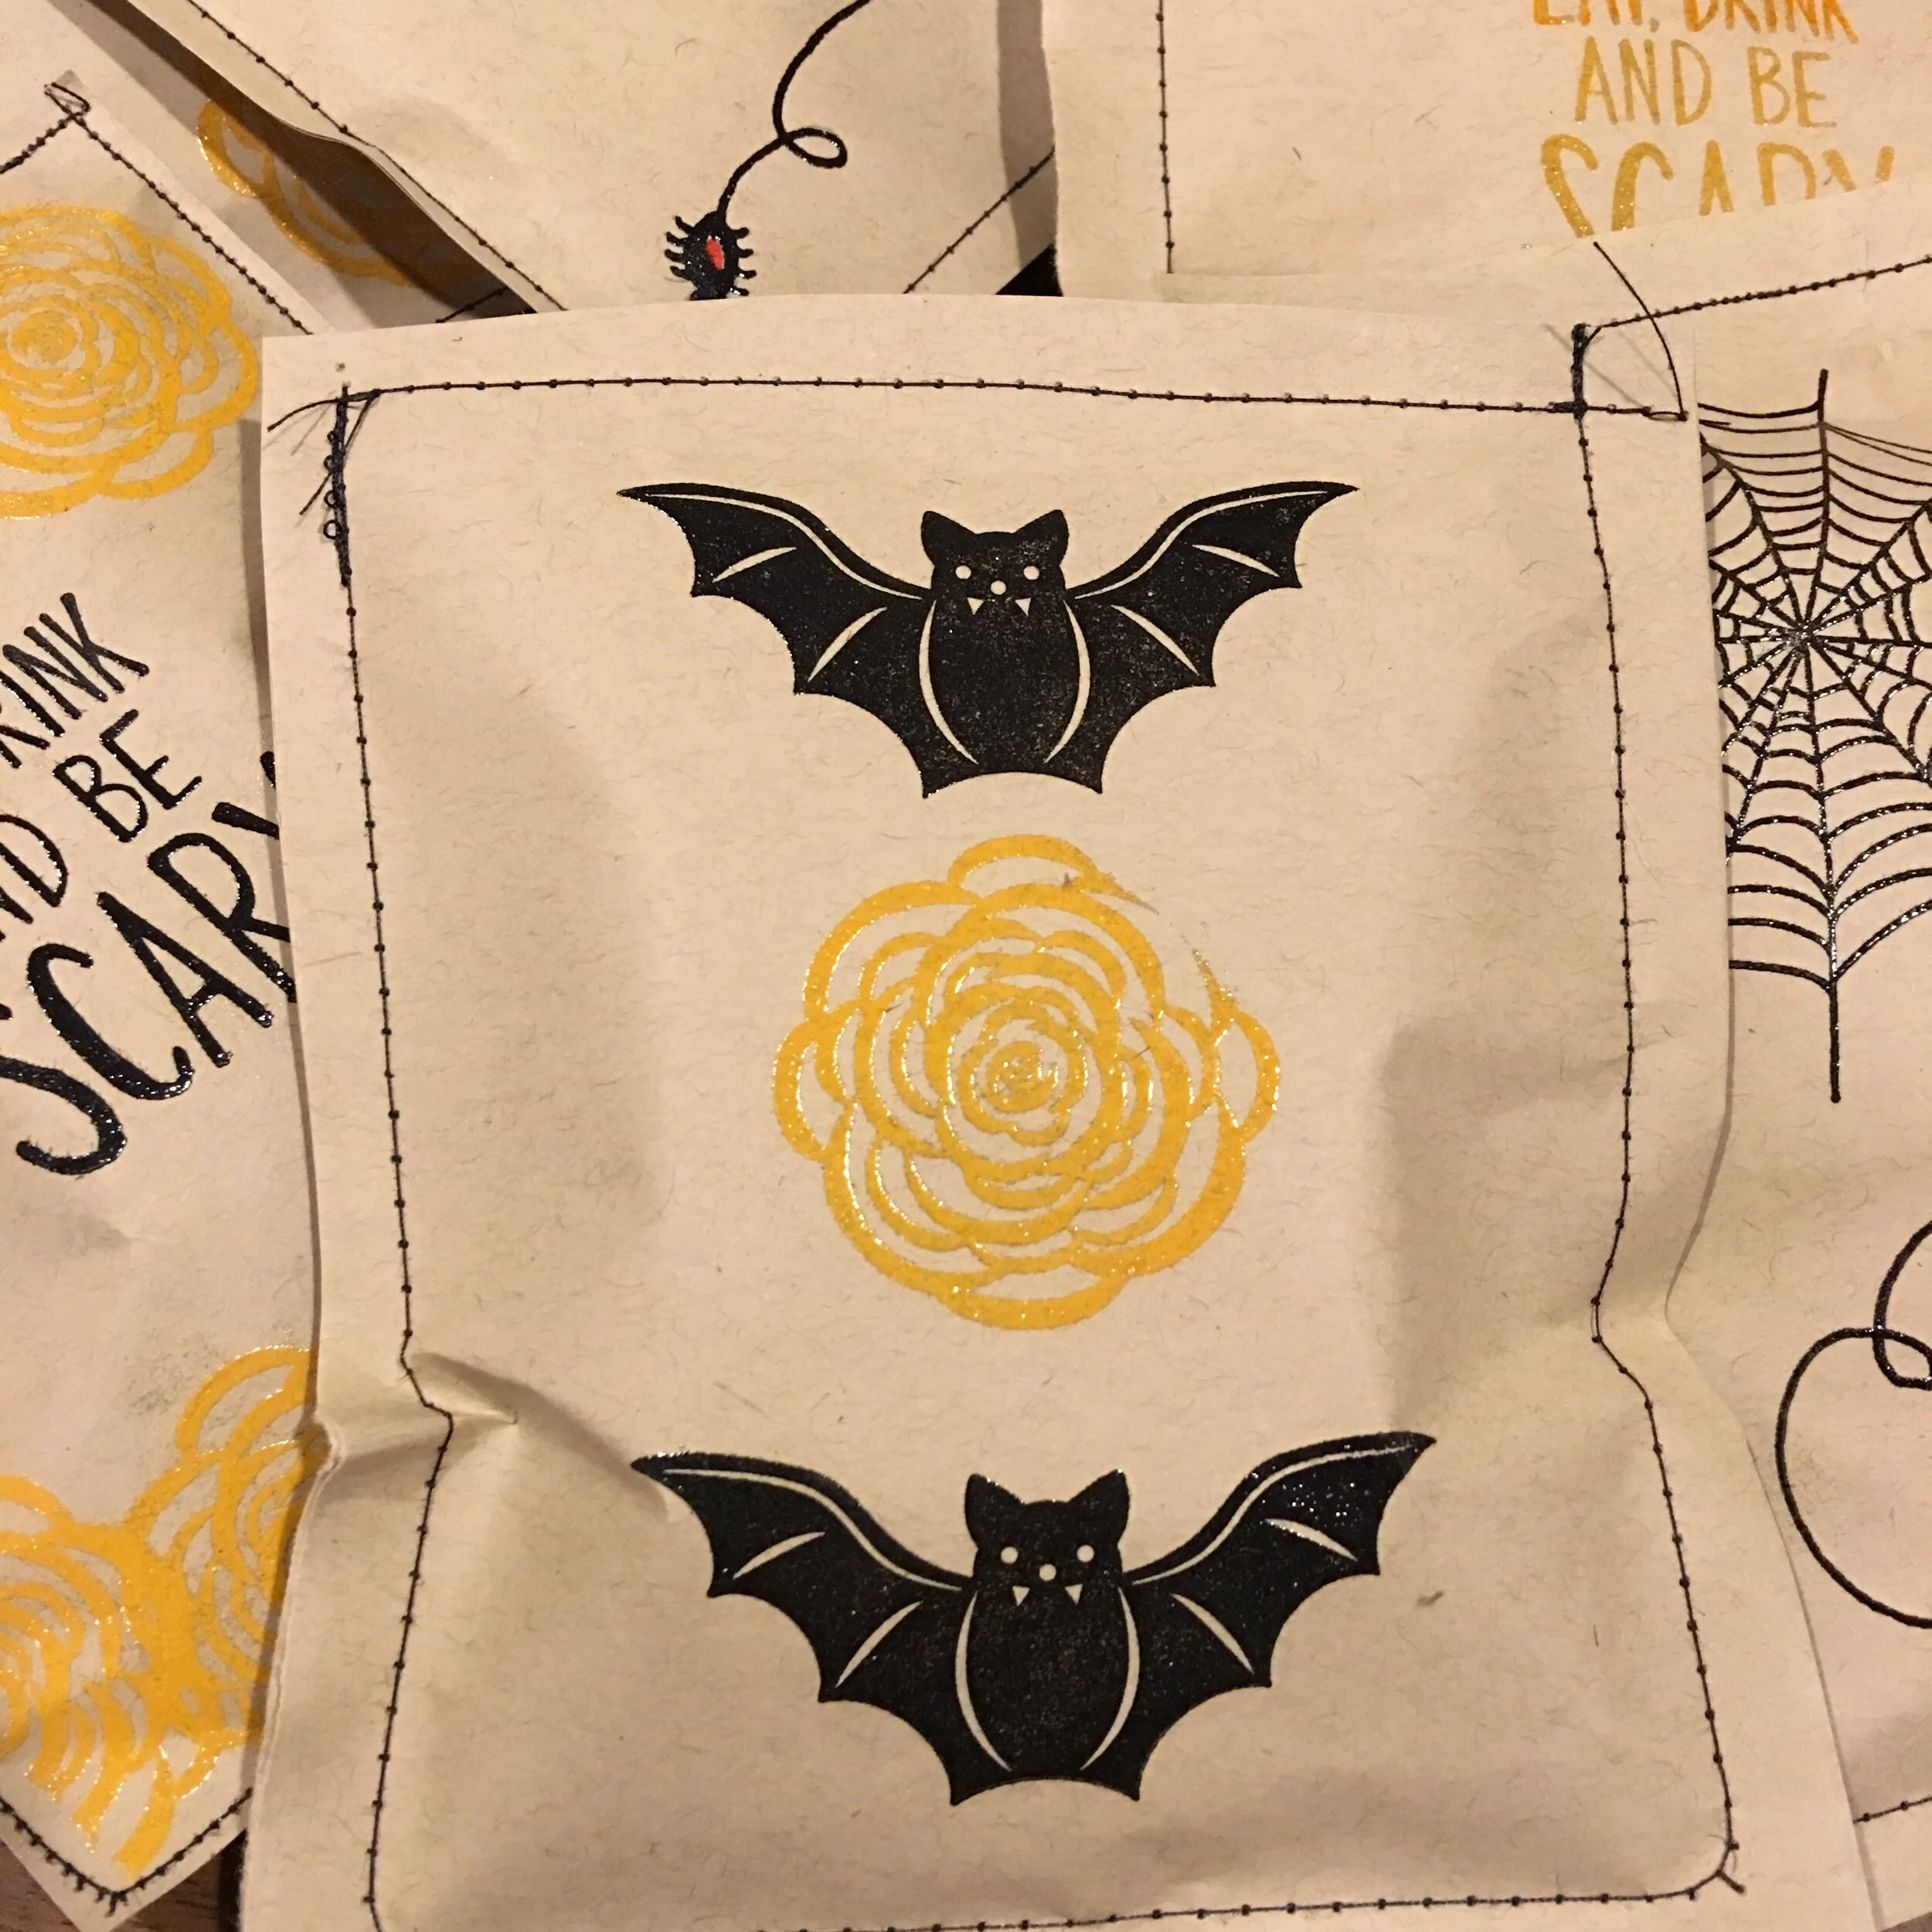
Step 3: Stamp the sheets that you just cut out and immediately coat them in the embossing powder ( I do one sheet at a time so that the ink doesn’t dry and I only stamped the front side).
Step 4: Once your stamping is done, heat the powdered stamp with your heat tool — it’s best to hold the sheet up instead of heating it on the table (you can leave burn marks!) and you will be able to see the stamp turn glossy. As soon as you reach this point, turn off the tool.
Step 5: Sew or hot glue three sides of the pouches then stuff with your goodies. Once they are packed, go ahead and sew (or glue) the remaining side and Voila! You have a cute little candy pouch!
Cheers!
Ash