Let's get batty!
I don’t know about you but I’m itching to craft and decorate! Fall is one of my favorite seasons and since I have some extra time on my hands I thought this would be a good time to start thinking about Halloween. Will you be decorating this year and when is it socially acceptable to start putting decorations up (asking for a friend)?
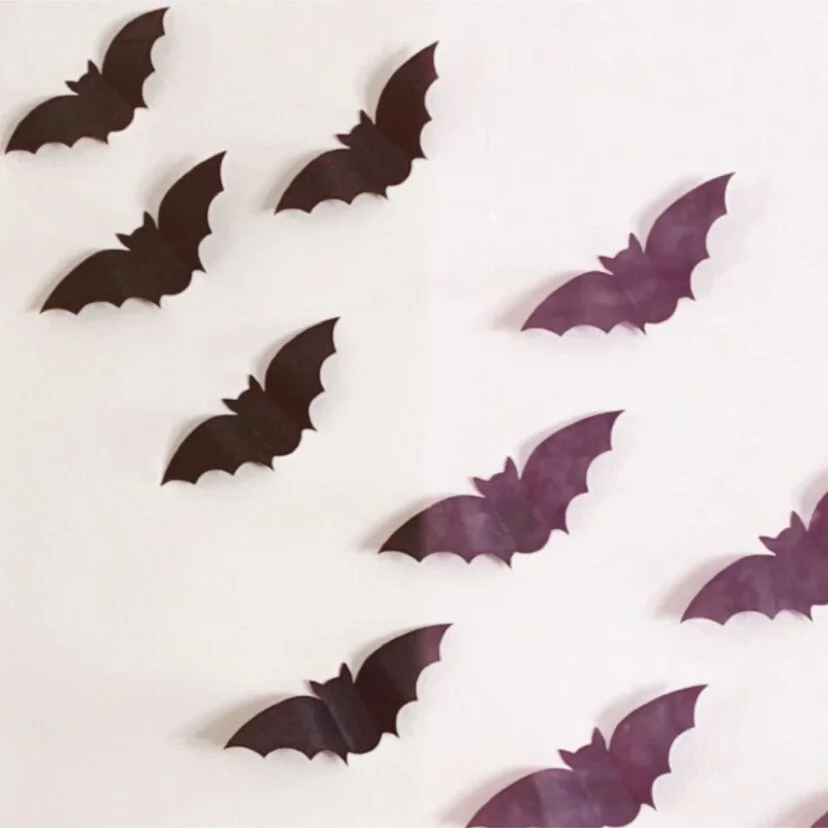
For the last couple of years I’ve been putting up these cute paper bats. They are a fun, quick project that can make a big impact. Grab your supplies and let’s get started!
SUPPLIES:
Black construction paper or card stock
Scissors ( I cheated and used my Silhouette)
Tape
Bat template
The first thing you need to do is print out your bat template. I like to use three different sizes - start with the medium and as you go up your wall start getting smaller. You can find my templates here.
Once you get those in your hands and have them cut out, you’ve got your template.
Grab your construction paper or your card stock, trace your template and let’s get to cutting. Cut as many as your heart desires. As I cut, I place them down on my table to start getting a feel for the shape that they are going to “fly” in.
Now that your bats have been cut and you have them in hand, it’s time to start folding. This is what gives them that three-dimensional look that makes them come to life. I like to make a crease right at the edge of the body and then a soft fold in the middle of the wing (I usually just use my finger for this).
Go Batty
This is the fun part! Start attaching your bats to the wall and in no time, it will look like these creatures are flying through your space. I recommend attaching a few and then take a step back and examine your space. Go Batty!
There you go :) This is quite possibly the easiest DIY I have ever done and I’m sure it will be for you too. These bats are sure to welcome in the season!
Cheers!
Ash


